In the same way that most meetings have had to move online in recent months, in-person events have had to adapt to the virtual format as well. Broadcasting one stream to a large group of people requires different technical considerations than a one-on-one meeting or a small gathering. Consideration for your audience’s different locations, Wi-Fi capability and audio quality means double and triple-checking that everything is at peak performance on your end. Being in charge of a larger audience poses a higher risk if a technical malfunction were to occur. To cover all your bases, here is a guide for preparing and hosting a successful livestream event:
Preparation Before the Livestream Event
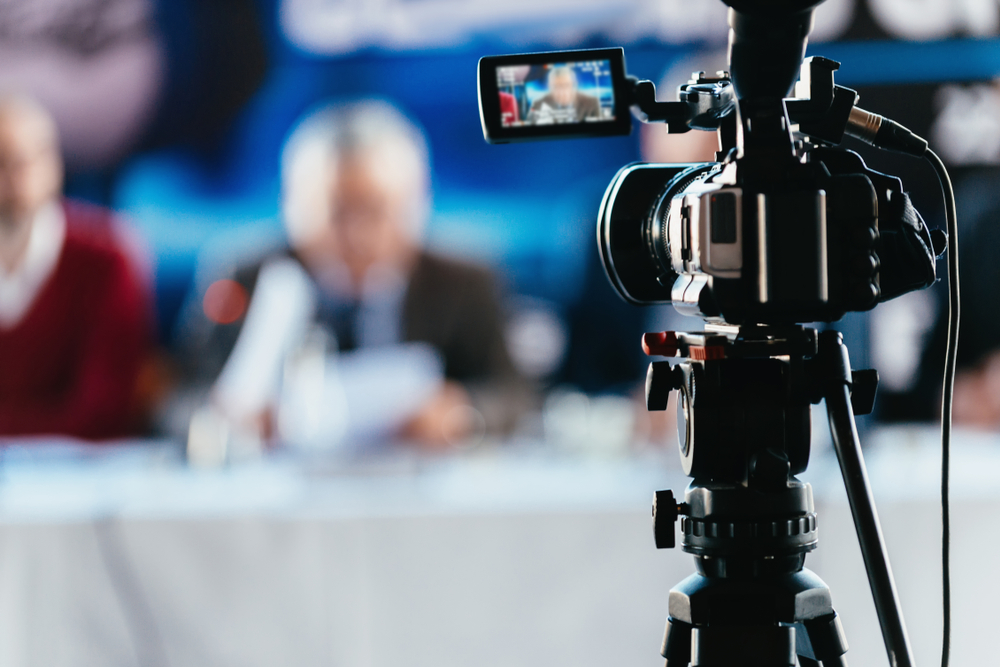
Choose the Right Equipment
One of the ways to ensure a high quality stream is to start with the right equipment. You can start with equipment you already have, such as a laptop with a webcam or a smartphone, but these may not have the capacity for the level of video and audio quality you’ll need. It’s best if you can invest in equipment made specifically for livestreaming: a professional-grade livestreaming camera, a tripod, external audio equipment, and lighting. Past the basics, a video capture card, encoding software, and hardware can also boost and stabilize video quality.
Test Run Your Equipment
Preparation is the key to a smooth livestream event, so testing everything on the back end before going live to your audience is a must. Use the livestreaming platform of your choice, Facebook Live, Twitch, YouTube, to preview your stream. Test camera angles, microphone placement and lighting to check for errors and make sure you can be seen and heard clearly.
Check Your Internet Speeds
The internet connection you use needs to keep up with the quality of your equipment. Conduct a prior test of your internet speed through an online speed testing website, specifically your upload speed. This has a direct connection to how much streaming your internet connection can handle.
Test it at varying distances from your router and at different times of the day, as speeds can tend to fluctuate depending on the internet usage of your neighbors. The best way to ensure you’re getting the most use out of your internet and the most stable connection is by connecting your device directly to the router with an Ethernet cable. When you’ve tested your connection, adjust the frame rate of your livestream accordingly. The higher the frame rate, the better the video quality, but if you and your audience’s internet cannot handle 4K or 1080p, forcing it will cause more technical issues.
After the Event
After running your livestream according to the parameters set during your testing, save the footage for your personal use. Use the playback to take notes on what parts worked and what parts need improvement. How was the video and audio quality throughout? Was there any interference? Does your internet need an upgrade? Use this information to continue enhancing the livestream event experience for your audience in the future.
ZMBmedia can help elevate your virtual events and presentations even further. By helping you manage the behind the scene’s logistics, we’ll make sure your livestream goes as smooth as possible. ZMBMedia invites you to utilize the resources at our new studio located in Baltimore, Maryland, designed specifically for livestream productions. Contact us today at www.zmbmedia.com.